

Timeline projects, sound and clip smoothing
Continue your edits, clean up voices and smooth a selected video clip while keeping its original take.
Find a saved timeline
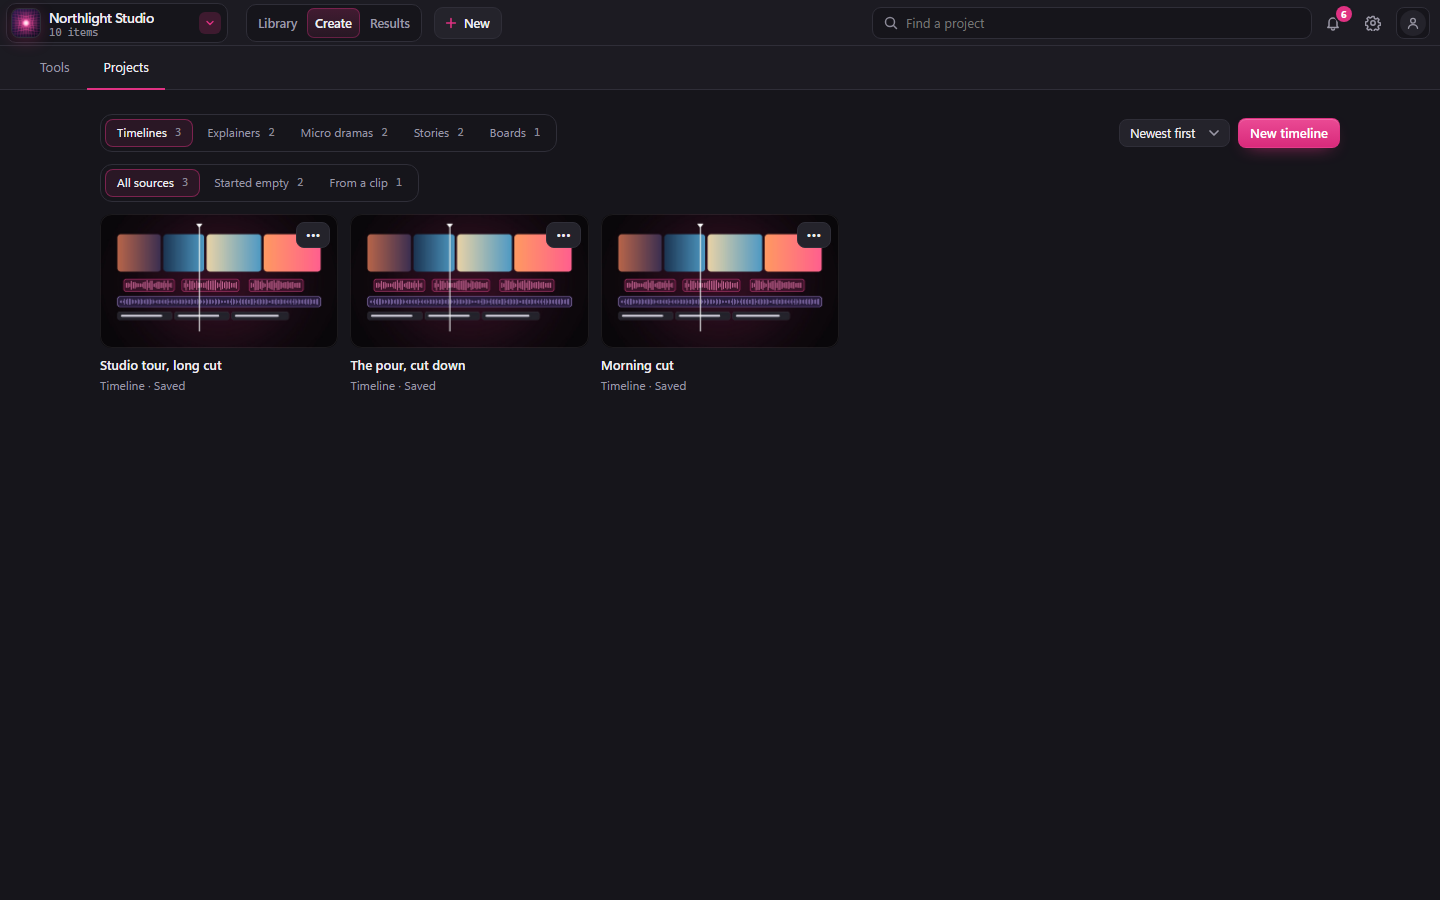
Click Create, then Projects, then Timelines. Type in Find a project at the top to find one by name. Once your timelines come from more than one place, choose All sources, Started empty, From a clip or From Micro Studio. Sort them by Newest first, Oldest first or Name A to Z. Click a timeline to carry on editing it; Back brings you to the same list. New timeline starts one. ••• on a card has Open, Rename, Duplicate and Delete (an explainer's own timeline has no Duplicate).
Until the next desktop build, open Timeline from Create instead.
Project cards show their saved pictures without waiting for the background saved-status checks. Pictures stored on a cloud drive still need to be available on your computer.
Smooth a selected clip
Select a finished video on the timeline. In its right sidebar, Smooth the motion offers 30 fps or 60 fps. Smoothing adds frames between the original frames; it runs on your computer without a generation charge.
30 fps is a smaller step up from a 24 fps clip. 60 fps gives smoother motion. If your clip already runs at the chosen rate or higher, BosOn leaves it unchanged.
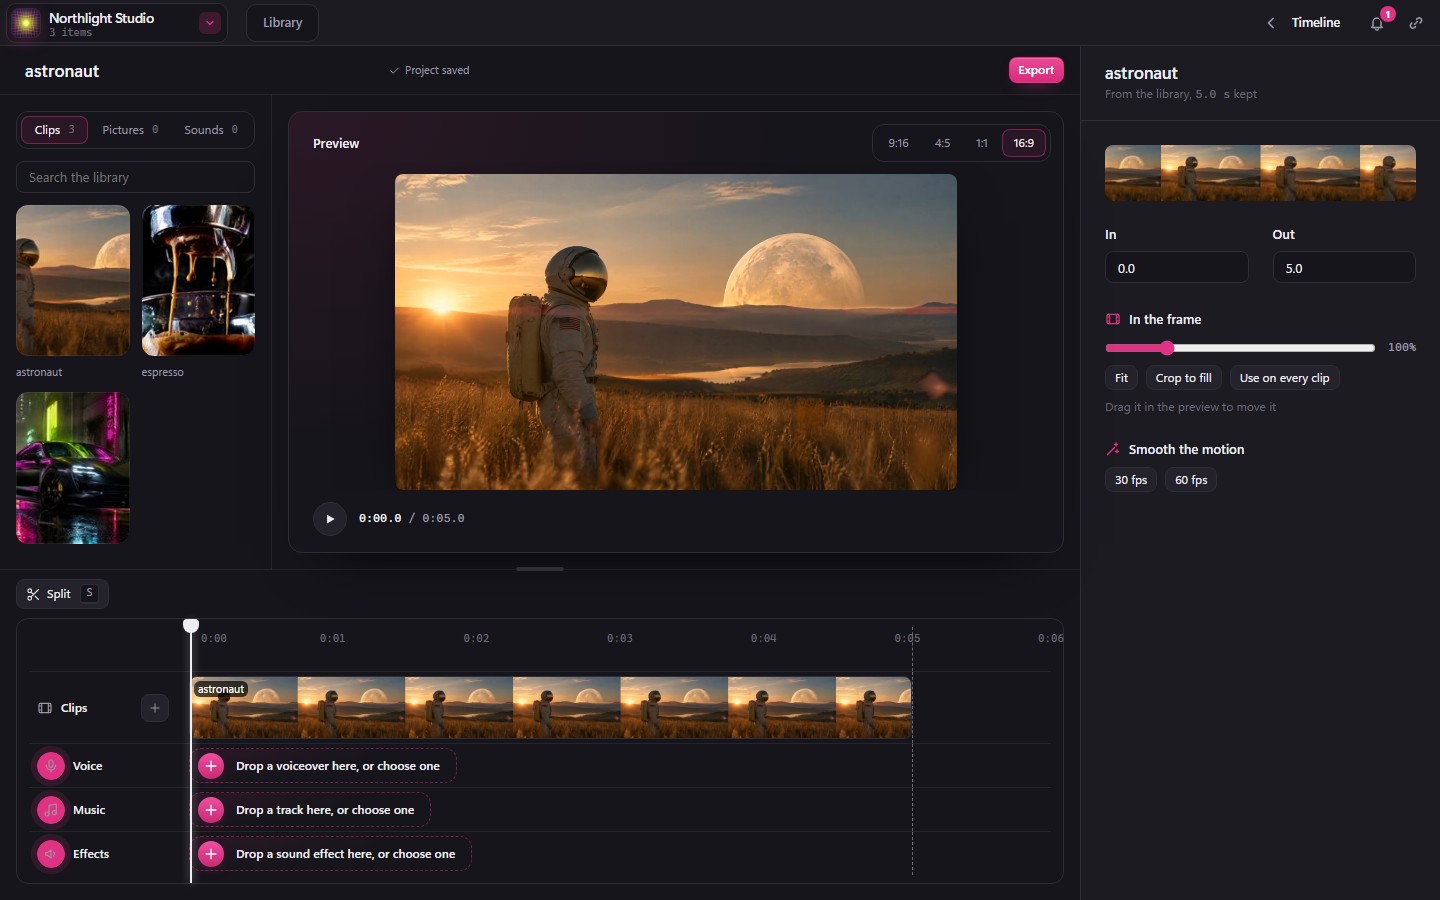
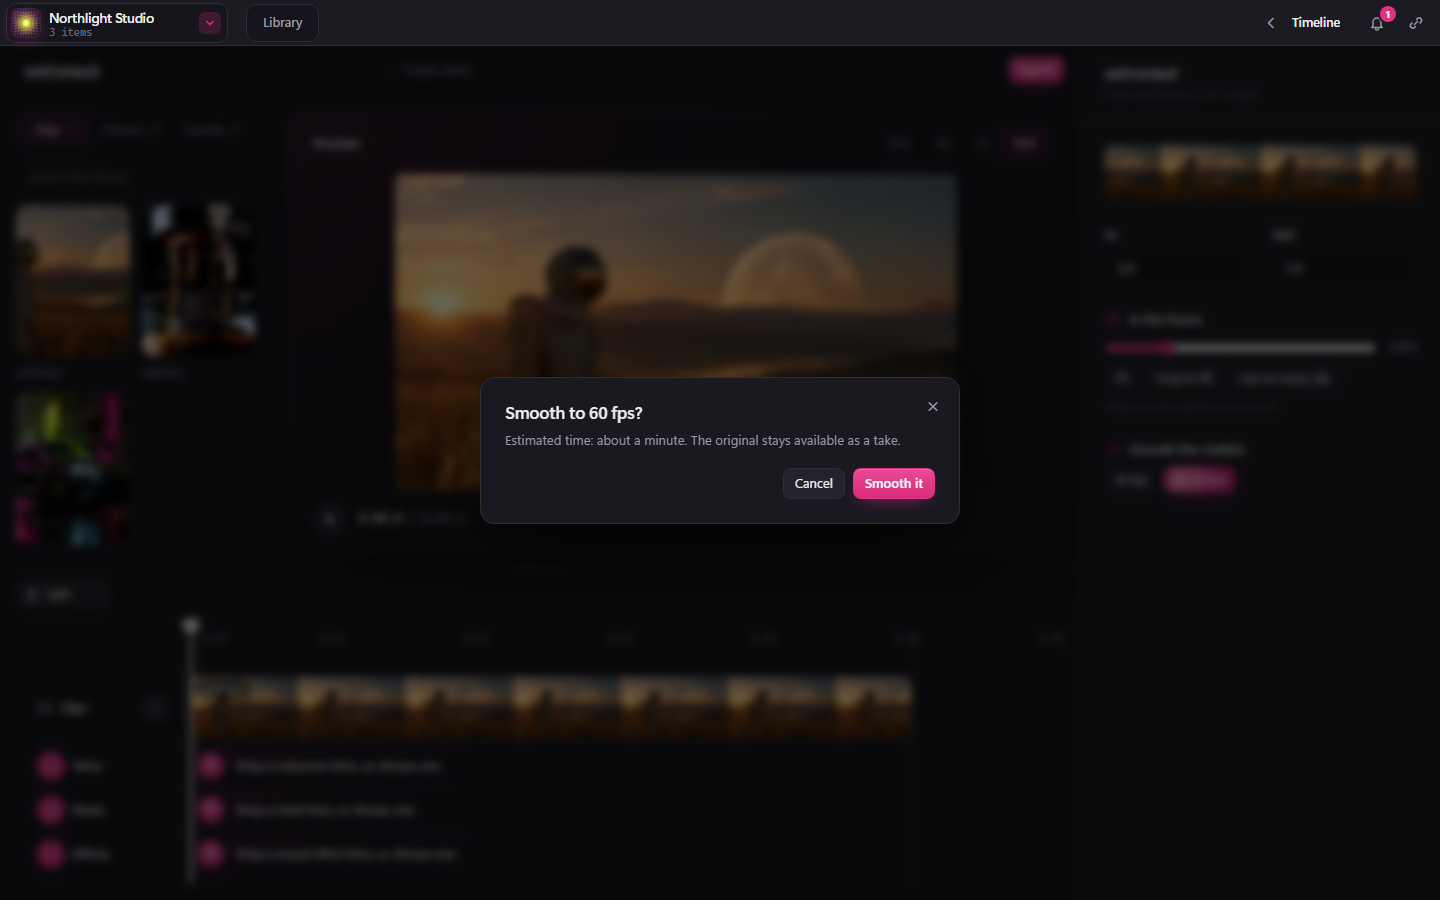
Click a frame rate to see the estimated processing time before you choose Smooth it. The estimate depends on the source video's length and size, and your computer. It covers the whole source clip so your existing in and out points stay usable.
Follow the work and keep editing
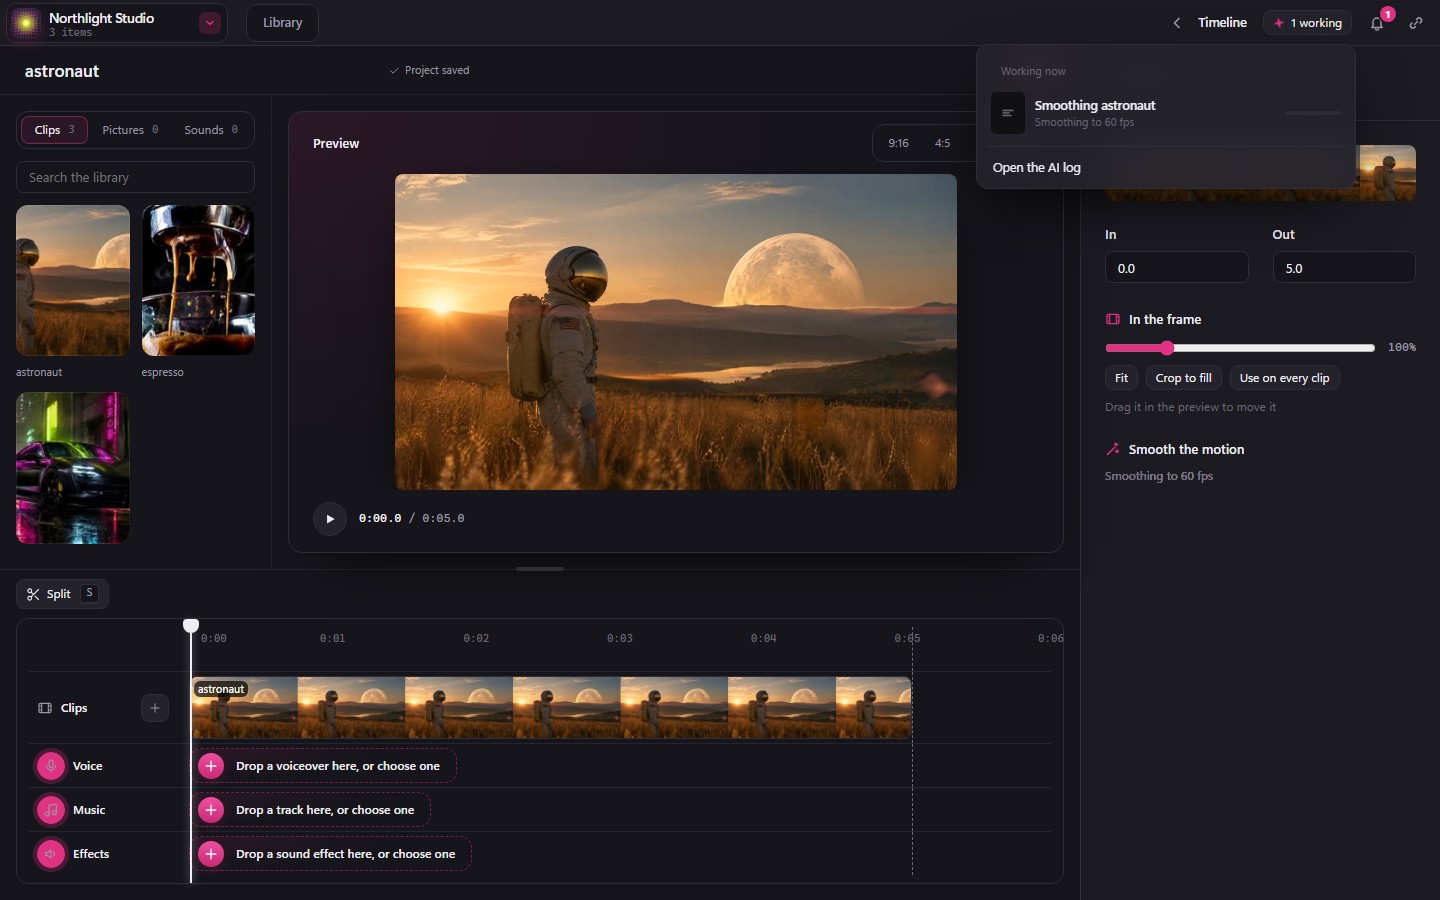
Smoothing appears in Working, with progress and a completion notification, and in the selected clip's sidebar. You can work elsewhere in BosOn while it runs. Keep BosOn open; closing it during processing stops the work. Click its notification to return to the timeline.
When it finishes, the smooth video becomes a new take on that clip. Your cuts, framing and audio settings stay in place. The original library file or Explainer scene stays unchanged and remains available in Takes. Undo also restores the previous take.
If the source changes while smoothing is running, BosOn keeps your current edit and reports that it could not apply the smooth take. Select the clip again and retry if you still want to smooth it.
Export retains the smoothed take's frame rate. The whole exported video uses a single frame rate, at least as high as the smoothed takes it contains.
Continue your edits
Play in the timeline sounds as the exported video will: each voice evened, the music under the voice, a clip's own sound under that, as BosOn mixes the video (in the next desktop build). Timeline saves changes as you make them. Quick edits are saved in order, and a delayed response does not put an older edit back on screen. If a later edit is refused, the earlier saved changes remain on the Timeline. Reopening the project brings back its saved edit; Export waits for changes already being saved before starting the video.
Hide or mute a layer (coming in the next desktop build)
Each layer has its switches at the start of its row. Clips has an eye to hide them and a speaker to mute their own sound. Captions has an eye. Voice, Music and Effects each have a speaker.
The switch changes the preview straight away; the change saves in the background. A hidden or muted layer is greyed on the timeline, and the exported video leaves it out exactly as the preview does: hidden clips are black for their time.
Hidden clips aren't heard either. Show them again and their sound comes back as you had it, muted or not.
Every edit at once, and Undo for all of them (coming in the next desktop build)
Moving, trimming, splitting, deleting, switching a suggested sound on or off and To playhead all show on the timeline the moment you make them; each one saves in the background. Undo (Ctrl+Z) and Redo (Ctrl+Y) take any of them back just as quickly.
Fade in and out (coming in the next desktop build)
Every sound and every clip can fade in and out. Click it, then move Fade in and Fade out in its panel, up to half the piece's length; the seconds show as you move them. The fade is drawn on the piece. A picked piece also has a small handle at each top corner you can drag inwards.
A clip fades from and to black, and its own sound fades with it. The preview plays the fades as the video will have them, and one Undo takes a fade back.
Sound levels (coming in the next desktop build)
Each sound's Level starts at Auto, where BosOn mixes it: each voice evened, the music under the voice, and a sound effect a little under the voice at its loudest moment, so a door slam or a battle never drowns the words. A very quiet effect is brought up a little, never more than 6 dB.
Move the slider to change it, from Silent at the far left up to +12 dB. Near the middle it moves 1 dB at a time; further down, 2 dB. Back to BosOn's level returns it to Auto.
Sound effects already on a timeline before this change keep exactly the level they had.
Find the start and end of a clip (coming in the next desktop build)
Hold Shift while you drag the playhead and it stops at the next start or end of any piece it reaches, cuts between clips included, until you pull it a little further. It only stops on an edge ahead of it, never one behind. Hold Shift and click a track to put the playhead on the nearest edge. Its time turns white while it's on an edge.
Up and Down jump the playhead to the edge before or after it. Left and Right still move it a frame at a time, a second with Shift.
Copy, paste and duplicate (coming in the next desktop build)
Any piece on the timeline can be copied: a sound effect, a clip, a voice, music or a caption. Pick it (Shift or Ctrl and click to pick several), then:
- Ctrl+C copies it. Ctrl+V puts a copy at the playhead on the same track. Several copied together keep their spacing.
- Ctrl+D, or Duplicate over the tracks, puts a copy straight after it.
- Right-click a piece for Copy, Duplicate and Paste here, which pastes where you clicked.
A copy uses the same file, so nothing is made again and nothing is paid. It keeps its level, fades, trim, speed and mirror. It stands on its own: a copied voice isn't tied to a scene. To paste a sound onto another sound track, such as an effect onto Music, pick a piece on that track before you press Ctrl+V.
Where a copy lands on top of something, the track does what it does when you drop a piece there: on Voice and Captions, what it lands on moves later; on Effects and Music, they overlap and play together. A clip goes into the order, before the clip under the playhead, or after it past its middle. One Undo takes a paste back. A suggested sound isn't made yet, so it can't be copied: make it first.
Suggested sound effects (coming in the next desktop build)
After Suggest sound, each effect sits at the moment BosOn picked. To playhead moves it to where the playhead is. Once moved, a round arrow beside it, Back to its place, returns it to where it was suggested. A made effect that has moved has Back to its place in its panel too.
Make it shows what making the sound costs: dollars or credits for the service that makes it, or on ElevenLabs when it uses the characters on your ElevenLabs plan.
Make a sound effect longer (coming in the next desktop build)
Drag the right edge of a sound effect or music to make it longer. Past the end of its sound, it starts again from the top, joined with a short crossfade so the loop is smooth; a small mark shows where it starts again. Drag the edge back to shorten it. A voice stops at its own end.
Post from the timeline (coming in the next desktop build)
When you export an explainer from its own timeline, choose any connected upscaler offered for that size. A copy already made for the current edit can be exported again for free.
Post, beside Export at the top, opens the same Post box as the library, for the video as it is on the timeline now. If that version isn't in the library yet, BosOn adds it first, once; post again and it uses the same item. A video under 1080p is offered Upscale to 1080p first, as in the library. Post appears once somewhere to post to is connected. To launch the video as an ad, use Launch ad in the library.
Preview from the library beside the timeline (coming in the next desktop build)
Move the pointer across a clip in Clips to skim through it. Click a clip to preview it in the player; your timeline pauses and keeps its place. Press Space to play or pause the preview, and Escape, its x, or a click on the tracks to go back to your edit. A sound in Sounds plays on its own card. Nothing goes on the timeline until you drag it there or click its +.
Make a clip again in Collider (coming in the next desktop build)
Select a clip and choose Open in Collider in its panel. Collider opens with the clip already in it. Say what to change and choose Make it. When it's made, the new clip goes on the timeline as a new take of the one you sent, in the same place, with the same start and end. This happens even if you go back to the timeline while it's being made.
The earlier clip is kept: open Earlier takes in the clip's panel to switch back. Undo also puts it back. Upscale, Cut out the background, Lip sync and Change aspect ratio come back to the timeline the same way.
Find cuts (coming in the next desktop build)
Drop a long clip with several shots on the timeline, select it, and choose Find cuts in its panel, or right-click it. BosOn looks along the clip and splits it wherever the picture really cuts to a new shot, so each shot is its own piece to move, trim or delete. Each piece is the same footage: nothing is made again and nothing is charged.
A clip with one shot is left as it is. Undo (Ctrl+Z) puts the clip back whole in one step.
Mirror, Flash and Speed (coming in the next desktop build)
Select a clip to find these in its panel:
- Mirror flips the clip left to right.
- Flash, under From the clip before beside Cut and Crossfade, puts a quick flash of white on the cut. No clip gets longer or shorter, so your cuts stay on the beat.
- Speed plays the clip at 0.5x, 1x, 1.5x or 2x. A faster clip takes less room on the timeline and the clips after it move up; a slower one pushes them along. Its own sound plays at the new speed at its usual pitch; beyond half or double speed, its own sound is left out.
Undo takes back any of them, and the exported video looks as the preview does.
Clean up a voice
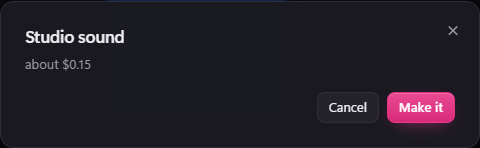
Select a voice on its track and click Studio sound. Review the price, then choose Make it. If the price cannot be checked, no cleanup starts. Check it again when the connection is available.
The price uses the service that will run the cleanup: dollars on fal, or on ElevenLabs when it uses the characters on your ElevenLabs plan. When both are connected, BosOn uses ElevenLabs. Selecting several voices cleans them as one request and returns each read to its own place. Undo restores the original reads.
If a service accepted the request but its result could not be downloaded, Collect sound appears above the timeline. Click it to collect that same request. It does not buy another cleanup. If the service is still working, wait and collect again later.

A connection failure is not proof that nothing was charged. When a result cannot be recovered, a deliberately new cleanup may cost again.
Audio used from Add sound
Let BosOn add the sound places each sound where its source comes in on screen, and again where it comes back, and makes a repeated sound once. Coming in the next desktop build.
Audio already used by a Timeline stays with that Timeline when its Add sound project is remade. The earlier read remains available on the track and through Undo.
If an older Timeline already refers to a missing Add sound recording, you can still edit the project. Restore or replace that recording to use it again.